How to Calculate Stand-Up Pouch Volume for Your Product
17 April 2026
A pouch that looks right on screen can become a problem once your product goes into it. If you are trying to estimate stand-up pouch volume before ordering packaging, the goal is not only to find a pouch that holds your product, but also one that fills properly, seals well, and presents cleanly on the shelf.
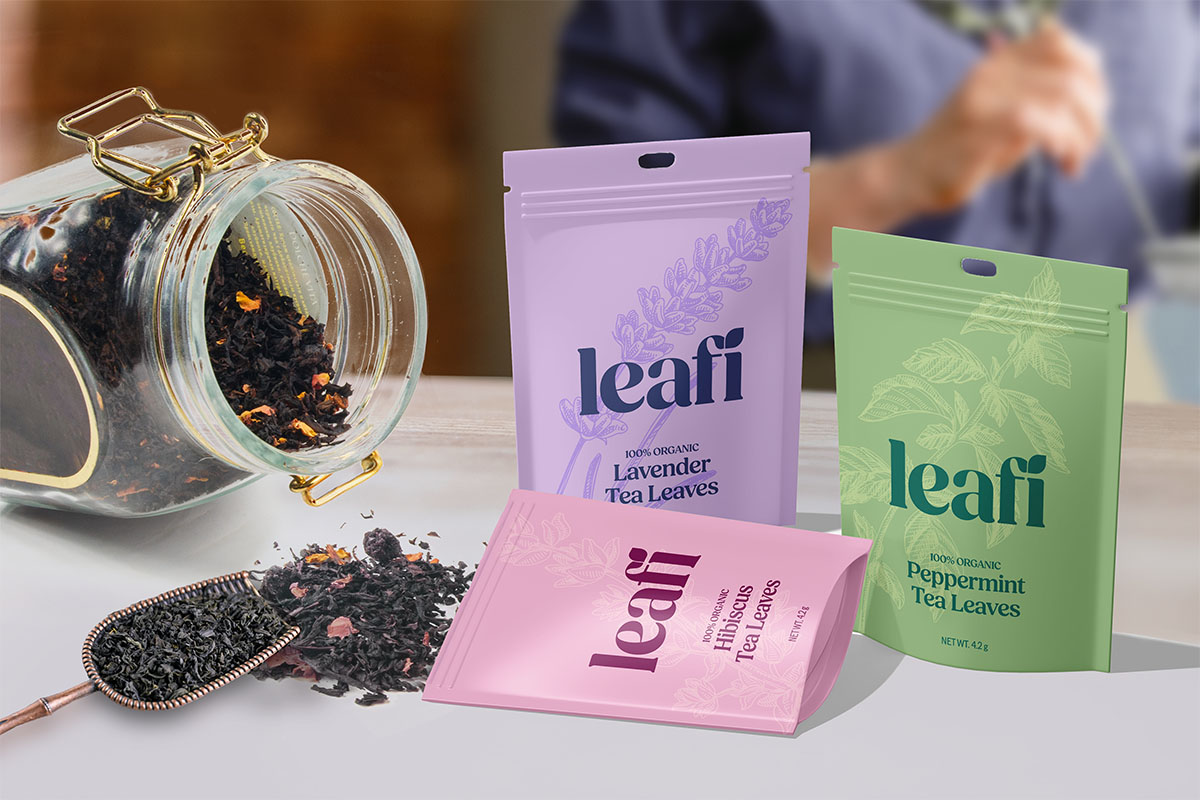
At The Packaging Lab, we know that pouch sizing decisions affect more than appearance. They influence fill efficiency, headspace, shipping, storage, and how confidently your product shows up in front of customers. The Packaging Lab offers stand-up pouches, lay-flat pouches, and rollstock film, along with sample packs that help brands compare standard sizes, materials, and finishes before committing.
What Stand-Up Pouch Volume Actually Tells You
When people talk about stand-up pouch volume, they are usually trying to answer a simple question: how much product can this package hold? That is a useful starting point, but it is not the full answer. A pouch’s stated capacity is only one part of the sizing decision because product shape, fill weight, density, seal space, and headspace all affect how the pouch performs in real use.
This becomes even more important for food packaging and similar products, where packaging choices connect to regulatory and product-safety considerations. The FDA classifies packaging as food contact substances, requiring them to meet safety standards for their intended use. This emphasizes the need for careful packaging decisions based on actual use rather than mere appearance.
In practical terms, pouch volume is an estimate of internal capacity, not a guarantee that all products will fill the pouch the same way. A stand-up pouch has structural features that impact usable space, notably the bottom gusset, which allows it to stand independently.
How to Estimate Stand-Up Pouch Volume Step by Step
The easiest way to estimate pouch volume is to combine the pouch dimensions with a realistic understanding of how your product fills space. It should be more precise than simply choosing a pouch that “looks about right.”
A practical sizing workflow prevents ordering pouches that are awkward to fill, difficult to seal, or too large for display. It also enables smarter comparisons of standard pouch sizes before sampling or production.
1. Start with the Pouch Dimensions.
Start with the pouch's dimensions: width, height, and bottom gusset, which help estimate internal capacity. However, these figures shouldn't be seen as fully usable space, as seals, top clearance, and product settling also need to be considered.
This is why outside dimensions can mislead buyers. A pouch may appear large based on total size, but once the gusset opens and the top sealing area is considered, the actual space available for the product is smaller than it seems.
2. Use a Basic Volume Estimate.
A rough estimate begins by multiplying the pouch dimensions to assess interior space. This helps in early planning, especially when comparing stand-up pouch sizes before requesting samples.
From there, you should adjust your expectations because a pouch does not behave like a rigid box. Flexible packaging changes shape with its contents, and not all parts of the pouch can be used for filling. Use estimates for comparison, but don’t rely on them for final decisions.
3. Compare That Estimate to Your Actual Product Fill.
After estimating capacity, compare it with your product's fill volume or weight. Many sizing mistakes occur here, as brands may know the target weight but fail to translate it into the actual space the product occupies.
That difference matters because volume and weight are not interchangeable. Two products may have the same weight but occupy different spaces due to factors like density, particle size, and settling during transport.
4. Leave Room for Headspace and Sealing.
A pouch shouldn't be too tight, allowing for normal production tolerance, product movement, and top seal integrity. Space above the product is essential for clean sealing and proper presentation. Overfilling can lead to issues with appearance, closure, and consistency.
This is one reason sample testing matters. A mathematically sound pouch can still appear crowded or unstable when filled with the actual product. The Packaging Lab provides sample packs for brands to compare standard sizes, ensuring a proper fit rather than relying solely on estimates.
Why Product Type Changes the Volume You Really Need
Custom stand-up pouches may have the right dimensions on paper, but still perform differently depending on what goes inside. Product type affects how the pouch fills, settles, seals, and looks once it is on the shelf.
A few factors can change how much usable space your product really needs:
- Product density: A dense powder and a light snack can take up very different amounts of space, even at similar weights.
- Shape and consistency: Solid pieces, blends, and irregular products do not settle the same way inside a pouch.
- Air pockets: Some products leave more empty space, which can affect the pouch’s final appearance.
- Headspace: Extra room at the top helps with sealing, fill consistency, and presentation.
- Settling after filling: Products may shift or compress during handling, storage, or shipping.
That is why stand-up pouch volume should be treated as a starting point rather than the final answer. The best pouch size comes from comparing the estimated volume with how your actual product fills and presents in real use.
Common Mistakes When Sizing a Stand-Up Pouch
Sizing errors often occur when brands rush from dimensions to purchasing, especially under tight timelines, resulting in costly rework or poorly fitting packaging.
- Choosing a pouch based only on outside dimensions
- Treating fill weight as the same thing as fill volume
- Ignoring the bottom gusset’s effect on shape and usable space
- Leaving too little room for sealing and headspace
- Skipping sample checks before finalizing the size
Reviewing fill behavior, seal allowance, and product fit before ordering can prevent most issues and improve product presentation, filling efficiency, and packaging consistency.
How The Packaging Lab Helps Brands Choose the Right Pouch Size
Volume estimation works best when it is tied to real product planning rather than treated as a standalone formula. At The Packaging Lab, we help brands make informed decisions by offering standard stand-up pouch options, design customization, finishes, and sample packs. Customers can compare formats to find the best fit for their products before ordering.
Use this Simple Workflow
If you need a straightforward way to approach this decision, this is the order we recommend:
- Gather the pouch width, height, and bottom gusset.
- Build a rough volume estimate from those dimensions.
- Compare that estimate to your intended product fill, not just the package appearance.
- Account for product density, settling, and headspace.
- Confirm fit with a sample or real-world test before finalizing the pouch size.
Our order process ensures sizing is based on actual use, reducing the risk of choosing a pouch based solely on visual preference.
Get Help Matching Pouch Volume to Your Product
Calculating stand-up pouch volume is a smart first step, but it should lead to a better packaging choice, not just a rough number. The best pouch size depends on how your product fills space, how much headspace you need, and how you want the final package to perform in storage, shipping, and display.
If you are comparing pouch sizes for a new product or reviewing your current packaging, contact The Packaging Lab today to talk through your options. We can help you evaluate standard stand-up pouch formats, review sample possibilities, and move closer to a pouch that fits your product and your presentation goals.